
No matter if you’re cooking for a big family or just yourself, a tidy, well-organized pantry can be a game-changer. Beyond the aesthetic joy of neat rows of ingredients, a clean pantry helps you save money, reduce waste, and prevent pesky pests from invading your food supply. Even if your “pantry” is simply a couple of shelves in a kitchen cabinet, giving it a proper clean-out can bring a surprising sense of control and satisfaction.
The good news? You don’t need to spend a weekend doing it. With just four straightforward steps and a little bit of time—roughly 30 minutes to an hour—you can turn your cluttered food zone into a streamlined, functional space. Here’s how to refresh your pantry with ease.
How Often Should You Tackle the Pantry?
While the pantry may not demand your attention every week, it’s smart to give it a deep clean a few times a year—ideally with the changing seasons. This regular rhythm helps you stay on top of expiration dates, adjust storage needs, and prevent buildup of crumbs or spills.
However, some situations demand immediate action. Spilled liquids, crumbs, or signs of insect activity should be dealt with right away to avoid contamination or a larger infestation. A quick wipe-down in those cases goes a long way toward maintaining a hygienic kitchen environment.
Step 1: Empty It All Out
Start by removing every single item from your pantry space. Yes, every can, box, and bag. If counter space is limited, grab a portable table or place some sturdy boxes on the floor to hold everything temporarily.
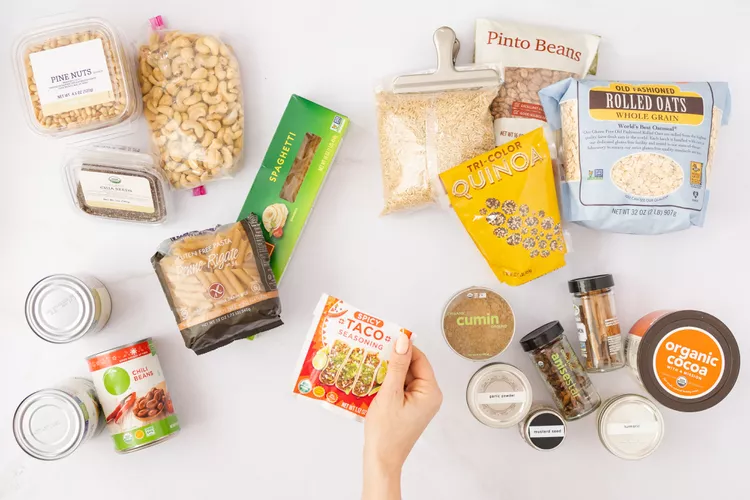
As you unload, begin sorting like items together—this small effort now will make organizing later much easier. Think: cereals in one pile, canned goods in another, baking items in a third.
Step 2: Give It a Deep Clean
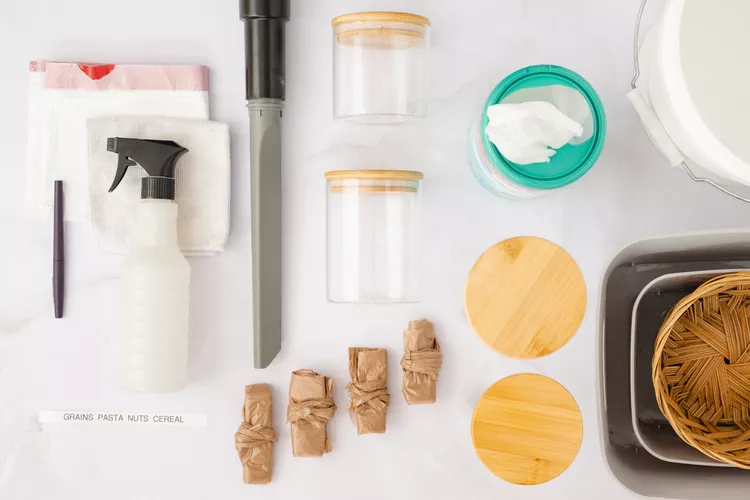
With your shelves cleared, it’s time to scrub away months (or years) of unnoticed mess. Use a vacuum with a hose attachment to remove loose crumbs, dust, and the occasional spider web.
Then mix a tablespoon of all-purpose cleaner into a small bucket of warm water. Dampen a microfiber cloth in the solution (make sure it’s not dripping) and start wiping from the top shelf down to the bottom, including the walls and pantry floor. For extra freshness, don’t forget corners and crevices.
If you see mold or suspect mildew, disinfect the area with a product designed for the job. Let everything dry fully before putting anything back.
Step 3: Sort and Declutter
Now comes the part where decisions are made. Sort your pantry contents into three main categories: Keep, Donate, and Trash.
Keep: Items your household regularly uses and are within their expiration date.
Donate: Unopened, non-expired items that your family doesn’t like or won’t eat. Local food banks or shelters will often accept these.
Trash: Anything past its expiration date, bulging or leaking cans, stale open packages, or food showing signs of bugs.
Also, take this time to relocate anything that doesn’t belong in a pantry. Cleaning products, for example, are best stored elsewhere to avoid chemical contamination of food.
Step 4: Restock and Organize with Intention
Before placing items back on the shelves, give any sticky jars or dusty containers a quick wipe-down. Then, focus on organizing in a way that’s both practical and easy to maintain.
Keep everyday items front and center. Breakfast staples, snacks, and go-to ingredients should be within easy reach.
Group similar items together. Think zones: one for baking supplies, one for canned goods, another for snacks, etc.
Use bins and clear containers. These not only keep things neat but also let you see what you have at a glance. Labeling each bin adds an extra layer of order.
Follow the FIFO rule: “First In, First Out.” Put newer products behind older ones so you naturally use the older goods first, reducing waste.
Maximize vertical space. For deep shelves, try wire risers or stacking shelves to avoid losing items in the back. Over-the-door racks are perfect for small items like spices or seasoning packets.
Bonus Tips to Keep Your Pantry Clean and Functional
Once your pantry is back in shape, these habits can help it stay that way:
Keep a running inventory. A small notepad or dry-erase board inside the pantry door can help track what you need—and what you already have—so you avoid overbuying.
Ditch excess packaging. Removing bulky boxes and storing dry goods in uniform containers creates more space and improves visibility.
Invest in storage helpers. Turntables, shelf risers, and airtight jars aren’t just Pinterest-worthy—they’re practical tools that make your pantry more user-friendly.
Final Thoughts
A pantry overhaul doesn’t need to be a daunting task. With just a bit of effort and a game plan, your food storage area can go from chaotic to calming. Plus, the benefits go far beyond a prettier kitchen—you’ll spend less, waste less, and maybe even cook more creatively when you can actually see what you have.
